
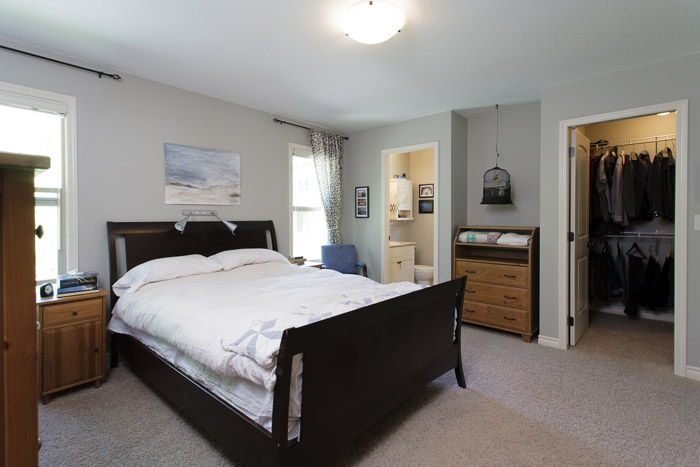
 Needless to say, our bedroom redecorating has spiraled over the past couple of months. True to third trimester nesting instincts, one idea led to another. We sold the old IKEA change table we had in this nook in our room, and had a hard time finding something with character to replace it that would fit into this spot, which is a little less than 35 inches wide.
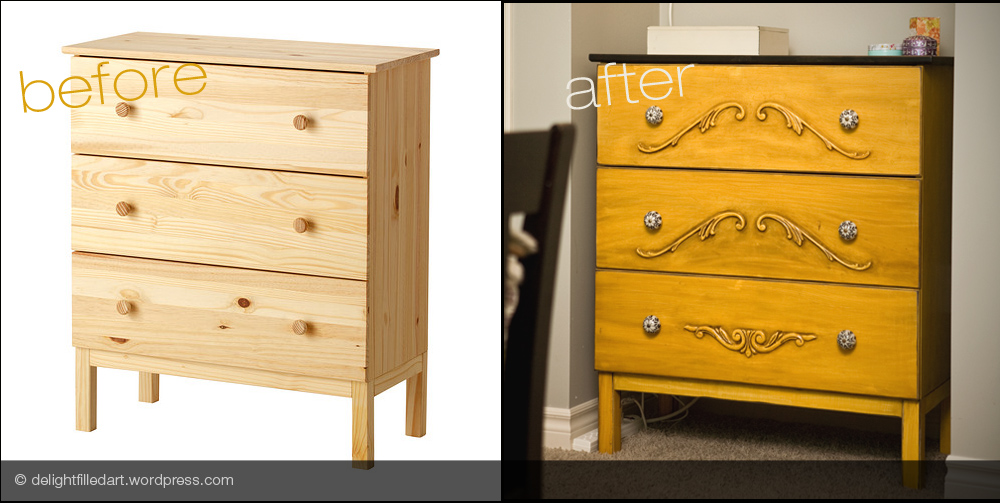
Over the Christmas holidays, we finally decided on this plan to refinish an IKEA Tarva dresser, which is quite cheap new (and not very well designed, we discovered!). I picked up the wooden appliques from Home Depot, and the new knobs from Pier 1 Imports clearance. Like a good pregnant wife, my husband ended up being tasked with a lot of the grunt work.
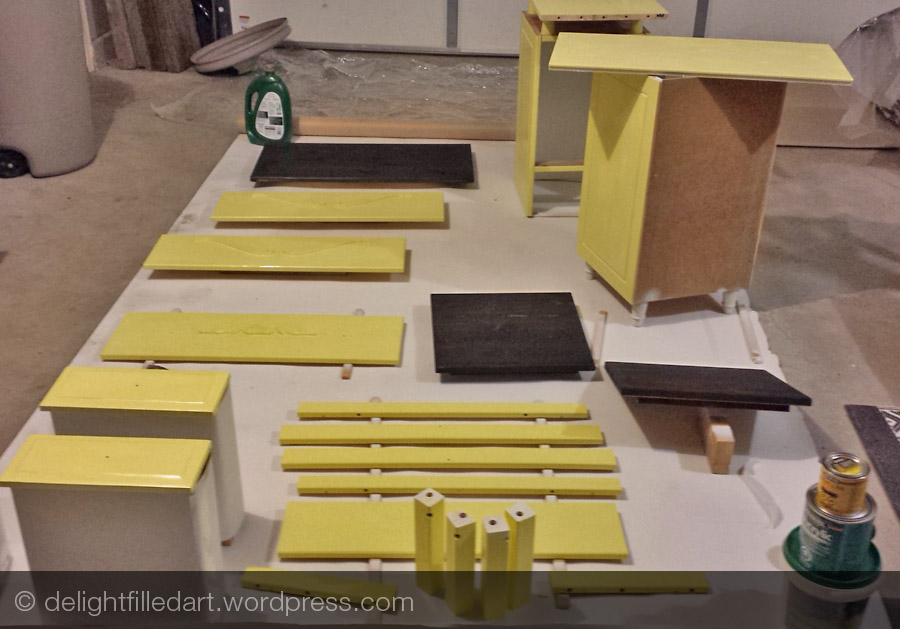
I should mention that we also repainted our Hemnes night stands, which were in antique stain but don’t match our bed, crib or new dresser. We had to buy some ebony-coloured stain because our new Hemnes dresser came with one piece of wood that was not stained on the out-facing side! So we used the same stain to do the tops of all three pieces of furniture to create a consistent theme. My husband sanded the night tables down to bare wood, and primed everything except the tops of the furniture with KILZ spray primer. Next he painted everything with yellow latex paint we had on hand – we did a lot of reading on different ways of painting furniture and decided this would cheer up the space without us having to buy chalk paint or a new colour of paint. Once it dried though, I found this shade of yellow too light.
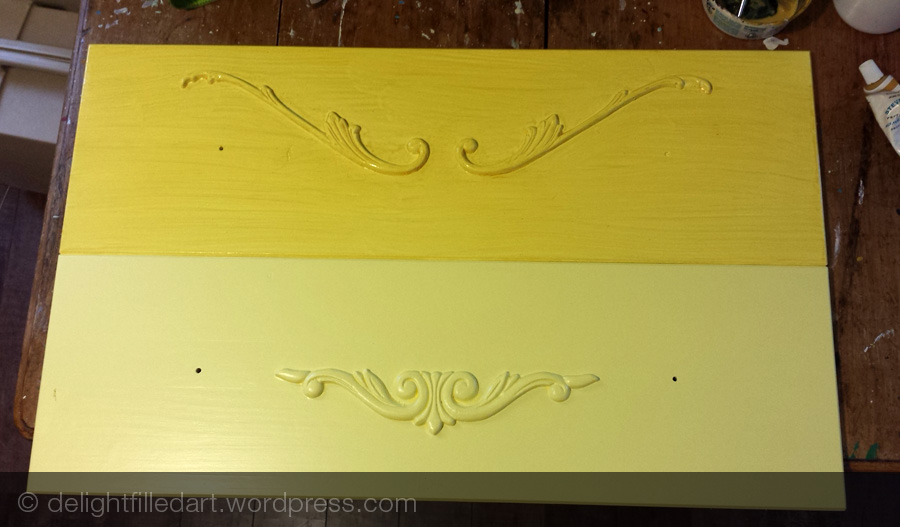
I took all of the finished yellow pieces and painted a glaze over top, which was a mix of acrylic medium, a few shades of yellow artist acrylic paint, and even some natural pigment I have on hand from France. This created a better shade of yellow. Next, my husband did some antiquing using sanding and by applying and removing stain. He used a blend of the ebony stain from the tops of the dressers, and a chestnut colour we had in the garage. We finished the pieces off with a couple of coats of polycrylic.

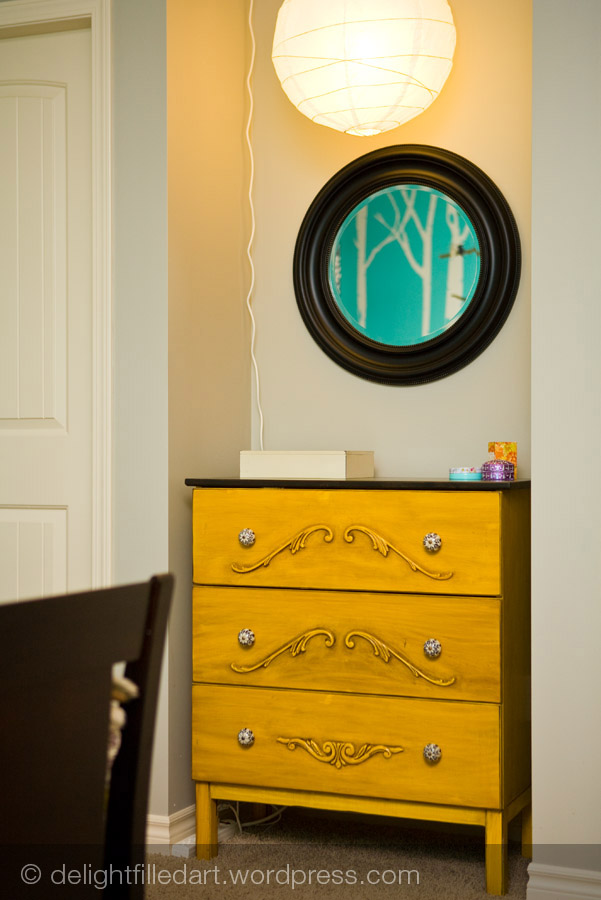
One of my favourite additions to the room is actually this round mirror that we found for $35 at HomeSense. It’s like a porthole that has totally opened up the room, especially with the feature wall reflecting in it. The round light above it I think is a bit of a design disaster, being almost the same size and shape. I might have to find a different lamp shade at some point, but for now it’s perfect.
One of my inspiration pieces for this project was a dresser by Little Mustard Seed (view dresser). I tried to replicate this hand painted style (it was harder than I thought it would be – I think I should have used a finer brush but I did it in about 20 minutes one night after work).
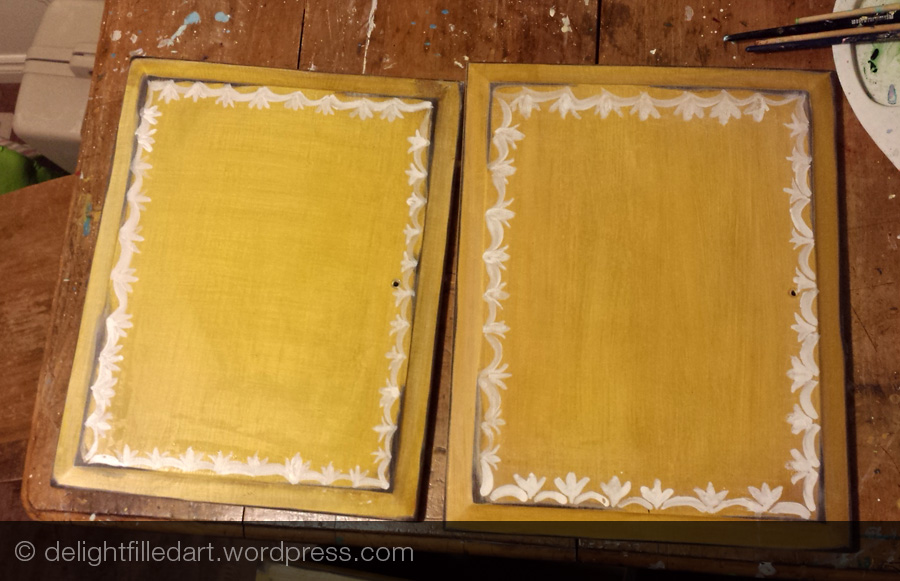
Here is how they turned out:

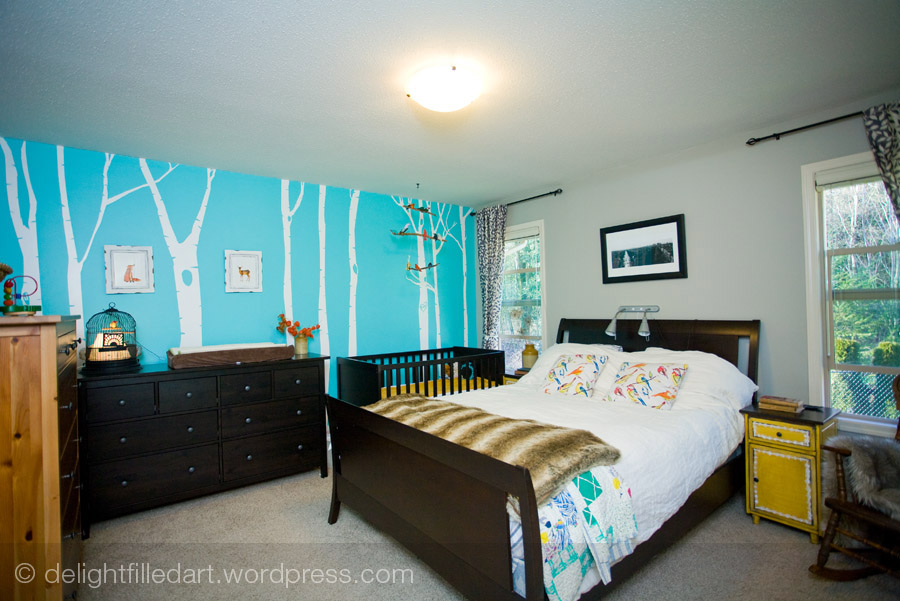
So we learned a lot about refinishing and repainting furniture over the holidays, and we are glad to be finished! Our room feels much homier. We don’t have a “before” picture showing the turquoise tree wall, but it was gray. I think we’re finished for now, though you might notice we still have one Hemnes dresser that is in antique stain. We may eventually refinish it! We were going to sell it and buy the black brown, but we already have the stain etc….
Here are a few more pictures:


Leave a Reply
You must be logged in to post a comment.